
 By Admin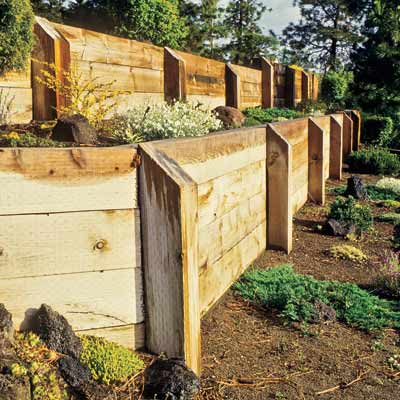
Last updated: September 10, 2026
Key Takeaways
- The lowest upfront price is not always the lowest total cost over 15 or 20 years.
- A 30-inch wall and a 54-inch wall may fall under different permit or engineering rules; verify the local threshold, often around 3 to 4 feet.
- A proper wall needs a compacted base, often 6 to 12 inches of crushed stone depending on height and soil.
- Block is the most common choice for residential retaining walls because it gives you a controlled, repeatable system.
Retaining wall materials explained: block, concrete, wood, and stone matter because the wrong one fails in the same place every time: at drainage, at the base, or at the first hard freeze. Pick badly, and the wall tells on itself fast. If you are deciding who to call for a retaining wall, I would start with height, then soil, then how much digging the site will need. A 2-foot garden terrace and a 6-foot hillside wall are not the same job, even if they look similar from the street.
Who this applies to — and what I’m assuming you already know
This is for a homeowner or property manager who needs a retaining wall built, rebuilt, or replaced and wants to compare block, poured concrete, wood, and stone before hiring a contractor. I’m assuming you already know the wall’s rough location and purpose: holding back a slope, leveling a yard, framing a driveway, or protecting a garden bed. And I’m also assuming you are not trying to engineer a highway wall or an extreme structural wall; those belong with a licensed civil or geotechnical engineer and a contractor used to permit-driven work. Straightforward job? Not quite.
The key decision is not “which material looks best.” It is “which material fits the site, the height, and the maintenance you are willing to live with.” Retaining wall materials explained: block, concrete, wood, and stone all work when they are used in the right place. They all fail when drainage is ignored. A 4-inch perforated drain pipe, free-draining gravel, and a way for water to exit the wall are not optional details; they are the difference between a wall that stands and one that bulges. Drainage is the backbone. Without it, the whole thing gets squirrelly.
Local conditions matter too. In freeze-thaw climates, trapped water expands and pushes hard. In wet coastal or clay-heavy areas, poor drainage and soft subgrade can shorten the life of almost any wall. And if your town requires permits for walls above a certain height, that threshold is usually around 3 or 4 feet, but you should check the local building department because the rule varies by jurisdiction. For general permitting guidance, see the International Code Council and your local building department.
Which retaining wall material should you choose?
The right material is the one that matches height, budget, drainage, and appearance without forcing the site to fight the wall. For retaining wall materials explained: block, concrete, wood, and stone, the best choice depends on the job, not the label. Simple enough. Usually not simple.
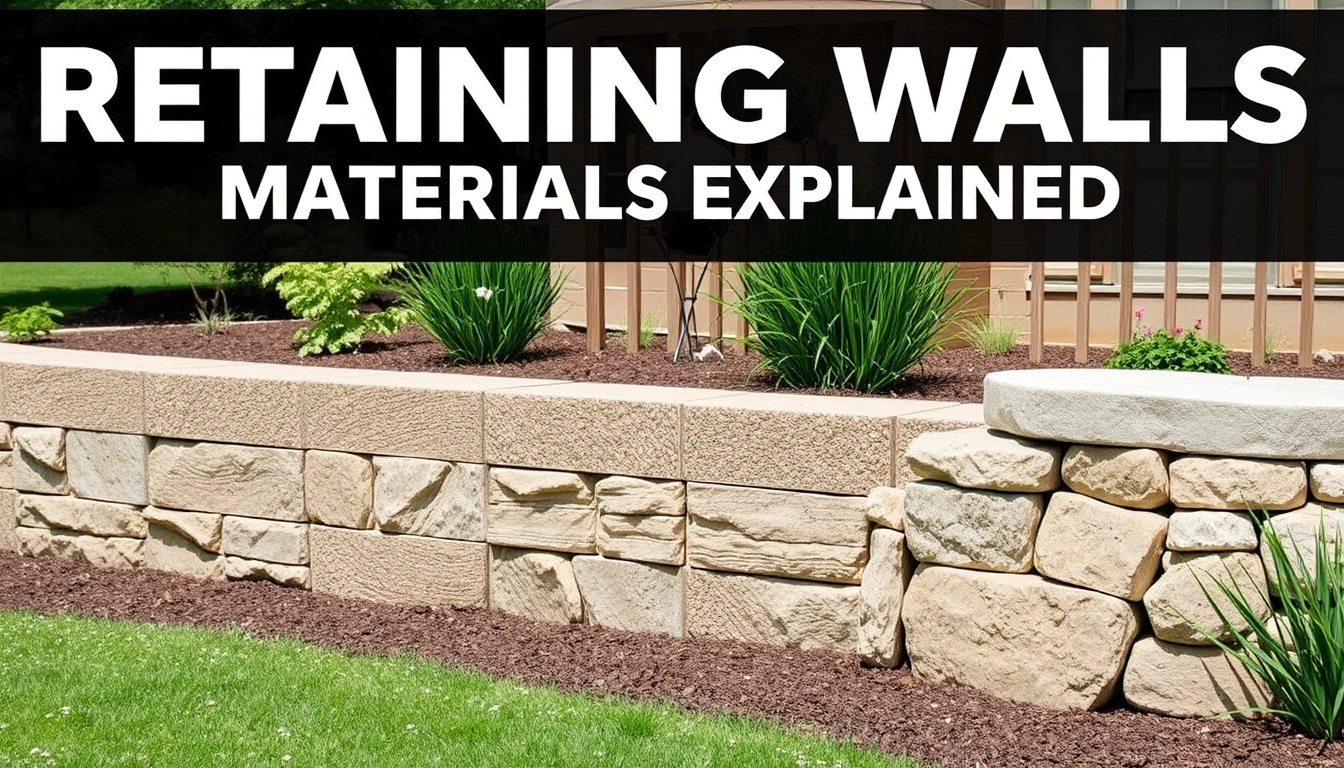
Block is the most common choice for residential retaining walls because it gives you a controlled, repeatable system. By “block,” I mean interlocking concrete landscape units, not plain cinder block. These walls usually need compacted base gravel, a buried first course, and drainage stone behind the wall. I would put block high on the list for most yards because it balances cost, durability, and flexibility. It is not the cheapest material in every market, but it often gives the best value for a 2- to 6-foot wall. Familiar, predictable, and frankly hard to beat.
Poured concrete is the strongest-looking option and often the most rigid. A poured wall can be reinforced with rebar, tied into footings, and finished in many ways. It fits well where the wall must resist heavy loads or where you want a clean, monolithic look. The trade-off is that it is less forgiving of movement. If the footing settles or the backfill stays wet, cracks are harder to ignore. I would not choose poured concrete for every garden wall, and I’d be cautious about it on unstable fill without proper design. Looks tough. It can be.
Wood usually means treated timber, but you should confirm the species, treatment rating, and local code requirements with a professional before you buy. It can be useful for short walls, temporary-looking landscape edges, or budget-conscious projects where a rustic look is welcome. It is the least permanent of the four. Even pressure-treated wood has a finite service life, and ground contact plus moisture takes a toll, so consult a professional about expected service life in your climate. I would avoid wood for a long-term solution where replacement would be disruptive, especially on steep slopes or where the wall is expected to hold back significant load. Cheap now; pricier later.
Stone ranges from dry-stacked natural stone to mortared stone veneer over structural backing. It can have very strong visual character and, when built correctly, last a long time. It also demands more skill and more labor. Dry-stacked stone can work well for lower walls, but it needs careful placement and good drainage. Mortared stone without the right structural base is decorative, not structural. If you want the look of stone on a retaining wall, I would ask the contractor exactly what is structural and what is facing material. Stone with no backbone is just dressing.
If I had to simplify the choice: block for versatility, poured concrete for strength and a clean finish, wood for short-term or low-budget use, and stone for appearance and long life when the budget and site can support it.
How do I compare retaining wall materials before hiring a contractor?
You compare them by asking the same six questions of every bid: how high is the wall, how is it drained, what holds it up, what sits under it, what happens at the top, and what warranty or service follow-up is offered. For retaining wall materials explained: block, concrete, wood, and stone, those questions keep the decision practical. No mystery. Just the basics.
- Measure the wall height from the lowest exposed point to the top of retained soil. A 30-inch wall and a 54-inch wall may fall under different permit or engineering rules; verify the local threshold, often around 3 to 4 feet. If a contractor gives a price without confirming height, that is a warning sign.
- Ask for the wall type and structural role. If the wall is segmental block, find out whether it is gravity-only or reinforced with geogrid. If it is poured concrete, ask for footing size, rebar spacing, and wall thickness. If it is wood, ask for post size and embedment depth. If the answer is vague, the design is vague.
- Check drainage details in writing. You want perforated 4-inch pipe at the base, clean drainage gravel behind the wall, and a plan for daylighting or outlet. If the design traps water or uses soil directly behind the wall, expect bulging, leaning, or freeze damage.
- Confirm the base preparation. A proper wall needs a compacted base, often 6 to 12 inches of crushed stone depending on height and soil. The first course must be level. If a contractor says they will “make it work” on disturbed soil without excavation, that is a problem.
- Ask how far the wall needs to be set back from structures or slopes. Some sites need more room than the wall footprint suggests, especially where excavation is deep or where a footing needs room. If access is tight, labor cost rises because equipment may not fit.
- Get the maintenance expectation. Wood may need earlier replacement. Stone may need occasional resetting of loose pieces. Block and concrete should need less visible maintenance, but only if drainage and grading are correct. If the proposal ignores maintenance entirely, it is not a complete proposal.
A good result is straight, level, well-drained, and visually consistent, with no bowed sections, no standing water at the toe, and no soil washing out from behind the wall after the first heavy rain. For more on drainage and site prep, see the University of Minnesota Extension and the National Concrete Masonry Association. Clean lines. Dry soil. That’s the goal.
What are the mistakes people actually make with retaining wall materials?
The biggest mistake is choosing the wall by appearance and ignoring the ground behind it. That is how people end up with a handsome wall that moves in the first wet season. Pretty on day one; trouble by spring.
Mistake 1: Using wood where the site stays wet. The consequence is early rot, fastener corrosion, and post failure. The better alternative is block or poured concrete with drainage.
Mistake 2: Building stone walls like garden edging. Dry-stacked stone can look simple, but each stone needs proper bearing and batter, which is the backward lean built into the wall for stability. If the wall is tall and the stones are loose or irregular, the wall can shed pieces or bulge. Use a contractor who knows structural stone work, not just decorative stone laying.
Mistake 3: Skipping drainage to save money. This causes hydrostatic pressure, which is water pressure building behind the wall. It pushes walls outward even if the material itself is strong. The correct alternative is gravel, pipe, and an outlet path. That math stops working fast.
Mistake 4: Treating all concrete as the same. Poured concrete and concrete block are not interchangeable. Poured walls need proper forms, reinforcement, and a footing. Segmental block needs a compacted base, setback, and often geogrid. Mixing up the systems leads to mismatched expectations and bad bids.
Mistake 5: Underestimating excavation access. A backyard wall that requires hand digging and wheelbarrows costs more than the same footage in an open yard. If a contractor cannot get equipment in, labor time rises quickly. Ask how they will remove spoil and where materials will stage.
Mistake 6: Accepting a price with no mention of permit or inspection. If your municipality requires a permit for walls over a set height, skipping it can force teardown later. The safer alternative is to confirm the local threshold before signing. Pain now, or pain later.
When does the usual answer not apply?
The usual answer does not apply when the wall is too tall, the soil is too weak, or the site is too constrained for a standard residential build.
Wall height is above the local permit threshold: that usually means the wall may need engineering or inspection — stop treating it as a simple landscape job and have the design checked before work starts.
The wall holds back a driveway, parking area, or other heavy surcharge load: surcharge means extra load on top of the soil, and vehicles increase pressure — use a reinforced design, not a decorative wall system.
The soil is clay, fill, or visibly unstable: these soils can hold water or settle unevenly — expect a deeper base, more drainage work, and possibly geotechnical input.
There is no room for excavation or drainage outlet: a wall without drainage space is a failure waiting to happen — reconsider the wall location or the wall type.
The site has known freeze-thaw exposure or heavy rain runoff: water movement changes the wall’s behavior — upgrade drainage, backfill, and pipe outlet planning instead of choosing by price alone.
The wall is near a property line, structure, or utility line: the build may affect neighboring land or buried services — verify setbacks, call utility locating, and avoid guessing.
In those cases, I would not choose the material first. I would choose the structure first, then the material that fits it.
How long does a retaining wall job take, and what should a good result look like?
A typical residential retaining wall can take 2 to 7 days of on-site work, but that can stretch if excavation is deep, access is tight, or weather interrupts compaction and concrete curing.
Block walls usually move fastest once the base is prepared, because the units are modular. Poured concrete slows down because forms, reinforcement, placement, and curing all take time. Wood can go quickly on a small job, though the life span is shorter. Stone takes the most labor because fit and placement matter more than speed.
A good result has three visible signs. First, the top line is even and intentional, not wavering. Second, the wall leans slightly back into the hill if it is a segmental or stone wall, which helps it resist pressure. Third, the soil above and behind the wall sheds water away from the structure instead of feeding it. If the first rain leaves washouts, soft spots, or puddles at the base, the job is not finished correctly. A wall can look fine and still be wrong. That part is sneaky.
For price, I would treat any exact number with caution because local labor, access, and permit rules swing the total. A short wood wall may be cheapest, a reinforced block wall often sits in the middle, and poured concrete or custom stone usually cost more. The contractor should be able to explain why their number changes when the wall height, excavation depth, or drainage requirements change. For cost and durability comparisons, see the U.S. Department of Agriculture Forest Service for wood and the Portland Cement Association for concrete.
What should I ask before I sign a contract?
You should ask five direct questions before you sign: what material fits my wall height, how will you handle drainage, what is the base depth, do I need a permit, and what happens if the wall shifts after the first season.
Ask for the wall section in writing. A serious proposal should name the material, the base thickness, the drainage pipe size, whether geogrid is included, and what finish or cap will be used. If the wall uses wood, ask for the treatment specification and expected service life. If it uses block, ask which system is being installed and whether the contractor will follow the manufacturer’s specifications. If it uses stone, ask whether it is structural stone or veneer over another wall type, and ask for references from similar projects. Clear, specific, no hand-waving.