
 By Admin
Last updated: October 21, 2026
Key Takeaways
- The top edge must shed water, protect the top course, and finish the wall cleanly.
- Retaining wall cap choices usually fit three groups: cap blocks, coping stones, and custom top-course finishes.
- Match the cap to the wall type, exposure, and how the top edge will be used.
- A slightly sloped coping stone with a clear drip edge usually sheds water better than a flat cap.
A retaining wall cap is the top piece that finishes the wall, protects the upper course, and sets the final look. For Retaining Wall Cap and Coping Choices: How to Finish the Top Edge, this guide sorts cap blocks, coping stones, adhesive, overhang, and water shedding without drifting into the rest of the wall system.
What the top edge has to do
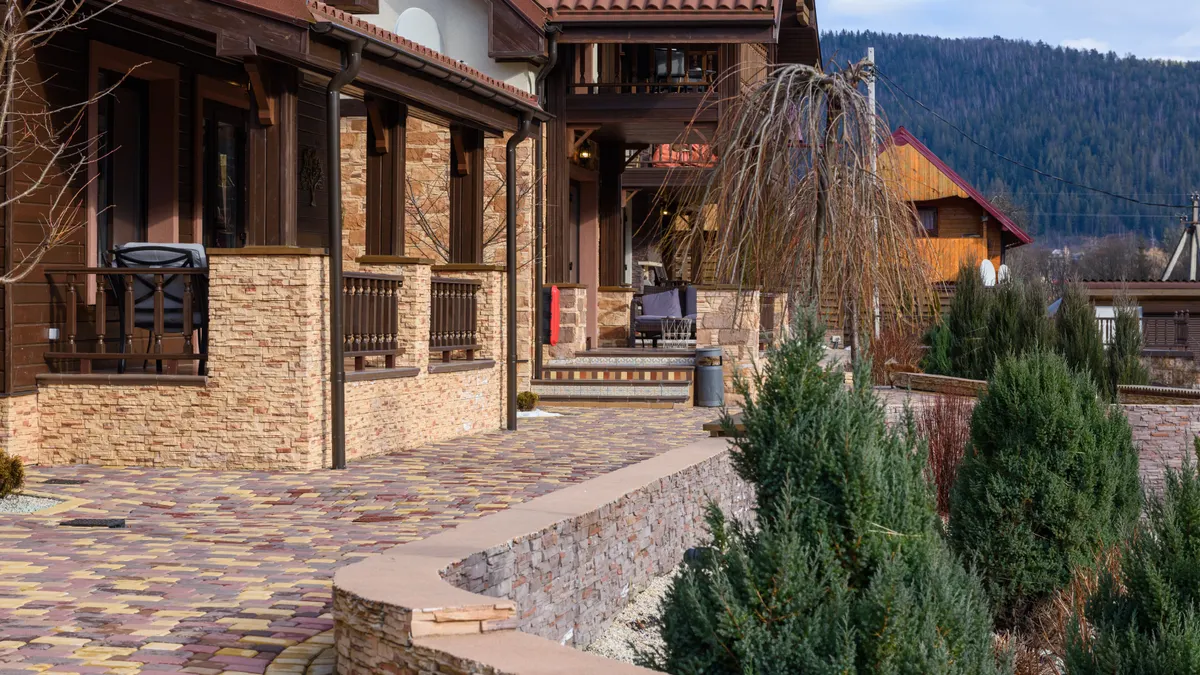
The top edge has to do three jobs: shed water, protect the top course, and look finished. A bare concrete block wall with no cap leaves the top cells or joints exposed, and that is where water, staining, and freeze-thaw damage usually start first. On a stone wall, the top edge also has to handle the visual transition so the wall does not look like a pile of pieces that stopped one course too soon.
The choice is not only aesthetic. A cap with a small overhang throws water clear of the face. A flat coping stone can do the same job if it is detailed well. A simple top course finish with no overhang does less for edge protection and tends to show runoff marks faster. That matters most on walls that sit beside paving, steps, or a patio where the top edge gets touched and wet often.
I would treat this decision as a finish detail, not an afterthought, and a professional can help confirm the right cap and coping details for the wall system; see the NCMA resources on wall units and caps, and the ICC-ES evaluation reports used for segmental retaining wall products. The top 1 to 2 inches of the wall is the part most people see at standing height, and it is also the part most likely to take splashback. If the wall faces a walkway or a driveway, a cap with a clean drip line is usually worth the extra effort.
This page stays focused on the cap and coping layer only. For planning the broader wall system, the hub on retaining wall design and planning is the right next stop.
Retaining wall cap options: what each style actually does
Retaining wall cap options fall into three practical groups: cap blocks, coping stones, and custom top-course finishes. Cap blocks are made to sit on concrete block wall systems and usually match the wall units in shape, color, and depth. Coping stones are broader, often more finished on the top and edges, and can work on concrete or stone wall builds where the goal is a more refined top line.
Cap blocks are the simplest choice when the wall is built from a matching block system. They are usually rectangular, can be straight or slightly textured, and are meant to cover the top course cleanly. The upside is fit and speed. The downside is that they can look heavy if the wall is narrow or if the cap is too deep for the scale of the wall.
Coping stones are the better fit when the top edge needs to read as a deliberate design element. They are often wider than standard cap blocks, and that wider tread gives you a more comfortable edge for seating walls and a more visible shadow line. On a stone wall, coping stones can bridge different stone sizes and make the top look intentional instead of improvised. The trade-off is weight and cost of handling, because a wider stone takes more time to place and align.
A custom top course finish is what happens when the wall itself provides the finished edge. That can be a soldier course, a row of full-size units, or a carefully cut top block. It works when the wall design already has a clean top line and the builder wants a lower-profile finish. The downside is that exposed cut edges and flat tops usually need more care to manage water.
If the question is “which looks best,” the answer depends on wall width and context. If the question is “which is most forgiving,” matching cap blocks usually win because they are made for the system. If the question is “which feels finished,” coping stones usually give the strongest result on visible, high-use walls.
How do you choose a retaining wall cap?
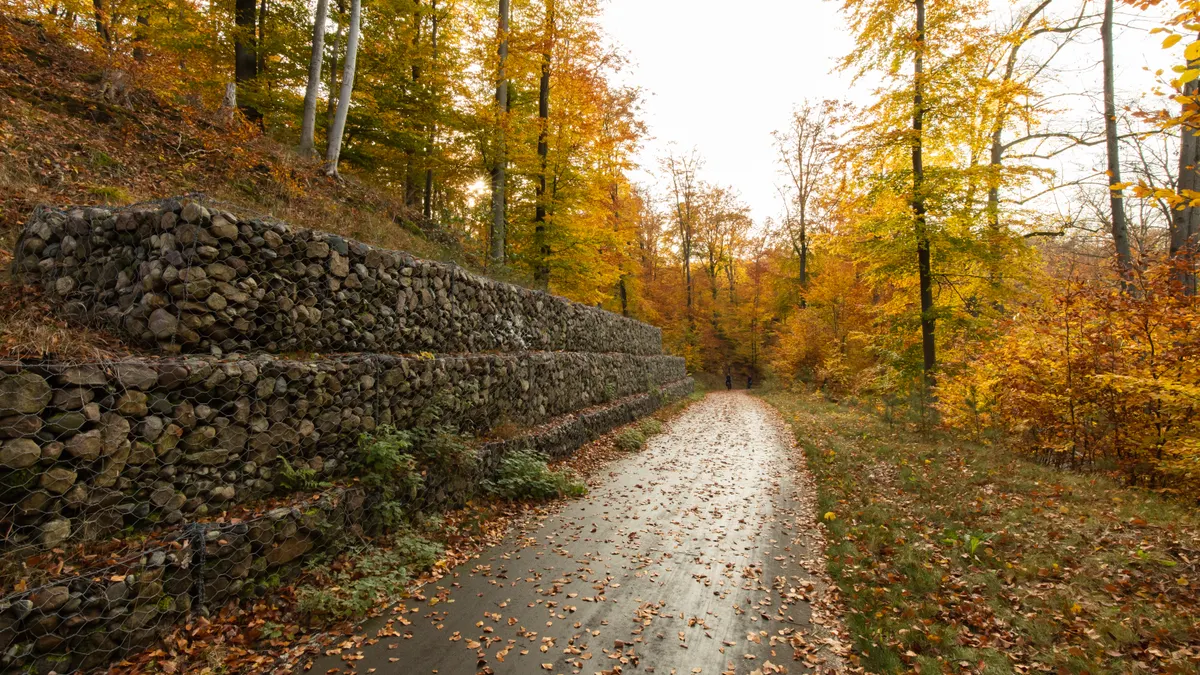
You choose a retaining wall cap by matching the wall type, the exposure, and the way the top edge will be used. Start with the substrate. A concrete block wall usually wants cap blocks or a compatible coping piece. A stone wall can take coping stones, but a professional should confirm that the underside has enough contact area to sit securely, especially on an uneven top. If the wall top is uneven, choose a cap profile that can tolerate minor variations without leaving large gaps.
A good first filter is thickness. A cap that is too thin can look timid and often does not shed water as well. A cap that is too thick can overpower a narrow wall and look top-heavy. For many walls, a cap with a visible overhang of roughly 1/2 inch to 1 inch on the face is enough to create a shadow line and move runoff away from the wall face. More overhang can look strong, but too much can feel awkward and expose the joint below.
Material matters too. Cast concrete cap blocks are common because they are consistent and easy to match. Natural stone coping stones have more variation in color and texture, which is useful when the wall itself is already irregular. Concrete pavers are sometimes adapted as caps, but they are only a good choice when their thickness, finish, and edge detail suit the wall. A random flat paver on a wall often looks like a shortcut.
Also think about the setting. On a low garden wall, the cap is mostly visual. On a wall beside a stair landing or seating area, the top edge has to be comfortable to touch and resistant to scuffing. On a wall with lots of sun and rain, a cap with a slight slope away from the wall face helps water shedding more than a perfectly flat top does.
I would not choose a cap just because it is available in the same color. The wrong profile in the right color still looks wrong after installation.
For related finish details, see the retaining wall materials guide, the stone wall design guide, and the landscape adhesive guide.
Which coping stone profile sheds water best?
A slightly sloped coping stone with a clear drip edge sheds water better than a flat cap with no edge detail. That is the short answer, and it matters because the top edge is where water starts its trip down the face. The goal is not to keep the wall dry forever; the goal is to keep the wall from acting like a shelf.
A coping stone that slopes away from the wall face encourages runoff to move off the wall and onto the ground where it belongs. Even a small pitch makes a difference. The important thing is consistency across the full run so one section does not dump water onto the next. On long walls, a tiny mismatch in slope becomes visible quickly because water highlights it.
The best top-edge details usually combine three things: a pitched top, a small overhang, and a clean underside edge that breaks the water line. That last part is often missed. If the underside is square and flush, water can cling and streak down the face. A defined edge helps it drop clear instead.
Flat cap blocks can still work if they are detailed with enough overhang and the jointing is tight. The problem is not flatness by itself; the problem is flatness with no drainage logic. A flat top with a controlled overhang, good adhesive, and careful joint treatment performs much better. For product-specific installation limits, consult the manufacturer instructions and an exterior masonry adhesive guide before you set the cap.
There is one honest limitation here: the best water-shedding profile is not always the prettiest for a particular wall. Some historic or formal stone walls look better with a thicker coping stone and less visible slope. In that case, the visual match may win, but the edge still needs enough pitch to move water.
If the wall will sit under heavy irrigation or wind-driven rain, I would favor the profile with the clearest drip edge rather than the flattest, most minimalist one. For a general reference on drainage and wall performance, the NCMA and ICC-ES resources are the safest places to check product guidance.
The simplest way to install a cap that stays put
The simplest reliable method is to dry-fit the cap blocks first, set them with the right adhesive, keep the joints even, and leave the wall with a finished edge that reads as one line. The result should be a cap that sits tight, overhangs evenly, and does not rock.
- Clean the top course so dust, laitance, and loose grit are gone. A stiff brush and a damp rag are enough for most concrete block wall tops, and the surface should feel solid rather than chalky.
- Lay out the cap dry and check the run for fit. On a straight wall, this is where you confirm the visual line; on a curved wall, it is where you find which pieces need trimming with a masonry saw.
- Set a consistent overhang, usually about 1/2 inch to 1 inch at the face, so the cap creates a shadow line and throws water away from the wall.
- Apply a compatible cap adhesive in continuous beads or pads, following the product instructions. The adhesive should support the cap without leaving large voids that let the piece rock.
- Press each cap into place and tap it gently until it is level along the run or pitched the way the design calls for. The top should feel stable, not springy.
- Check the joints and wipe off squeeze-out before it skins over. Clean joints make the finish look deliberate and keep the edge crisp.
- Let the adhesive cure fully before heavy use. The cap should stay fixed when lightly touched, not shift under the first bump or rain.
A masonry saw matters most when the wall length or corner condition does not fit standard pieces. Cut ends should be placed where they read cleanly, not where they stare at you from the main view. On stone wall caps, a saw cut can be hidden behind a return or inside a less visible end, which makes the finish look custom rather than patched.
The adhesive choice matters as much as the cap. Use a product intended for exterior masonry or landscape cap use, not a generic construction adhesive that becomes brittle or loses grip outdoors. If the cap will sit through freezing weather, the bond line needs to tolerate movement and moisture. For outdoor bond performance, check the product’s data sheet and the wall manufacturer’s installation guide.
Common cap and coping mistakes that ruin the finish
The most common mistake is choosing a cap that is too small for the wall face, because it makes the wall look thin and exposes too much of the top course. That costs the wall its finished look and often leaves the top edge vulnerable to water. The fix is simple: choose a cap that covers the full top course with enough visual mass to match the wall below.
The second mistake is a flat, sloppy joint line. When joints vary in width or the adhesive blobs push caps out of alignment, the wall looks amateur even if every piece is technically in place. That cost is mostly visual, but it is also practical, because uneven joints collect dirt and water. The better move is to dry-fit first and keep the joint width deliberate from one piece to the next.
A third mistake is ignoring overhang. A cap set flush with the face does not shed water well and can leave streaks down the wall. The correction is to give the cap a small, even projection and, where possible, a profile that breaks the runoff at the edge.
Another problem is mixing styles without a reason. A heavy coping stone on a light, narrow wall can look top-heavy. A tiny cap on a wide, rugged stone wall can look lost. This is a design mismatch, not just a construction error, and it is expensive in the sense that it often means buying a second set of pieces.
Finally, some people use the wrong adhesive or too little of it. The cap may hold for a while and then loosen after temperature swings. That is frustrating because the failure usually starts with a small rattle or hairline shift and ends with a visible bad joint. The safer move is to use the adhesive specified for exterior masonry cap work and avoid spotty application.
When a cap is the right finish, and when it is not
A cap is the right finish when the wall needs edge protection, a clean visual line, or a seating edge that people will actually touch. It is especially useful on a concrete block wall where the top course would otherwise look unfinished. In those cases, cap blocks or coping stones are not decoration; they are the proper completion of the top edge.
A cap is not the best answer when the wall already has a finished architectural top or when adding one would make the wall look too tall, too heavy, or too formal for the setting. A low stone wall in a natural garden can look better with a modest coping stone than with a thick, prominent cap block. The wrong top can change the whole wall’s character.
It also may not be the right fix if the top course is too irregular to support a stable bond line. In that case, the cap problem is really a substrate problem, and trying to force a neat finish over a crooked base usually produces a crooked finish with extra labor. A masonry saw can solve minor fit issues, but it cannot turn an uneven top into a good cap seat.
If the wall has corners, returns, or step-downs, plan the cap layout before buying all the pieces. A corner piece or a cut strategy often determines whether the finish reads as intentional. That detail is small, but it is the difference between a cap that looks designed and one that looks like an afterthought.
Retaining wall cap choices in one sentence each
A retaining wall cap should match the wall’s scale, shed water, and protect the top edge. Cap blocks are the easiest match for a concrete block wall. Coping stones are the strongest visual finish for a stone wall or a more formal top line. Adhesive choice matters because the cap has to stay put outdoors. A masonry saw becomes useful when the run needs trimming or the ends need a cleaner return.
The best choice is the one that fits the wall you already have, not the one that looks good in isolation. A narrow wall with a heavy cap looks clumsy. A wide wall with a thin cap looks unfinished. If the top edge reads cleanly from the first glance and water has a clear path off the face, the finish is working. For nearby planning, compare retaining wall drainage basics and stone veneer installation.
Do retaining walls need caps?
No, retaining walls do not always need caps, but most exposed top edges benefit from one. A cap protects the upper course from water, gives the wall a finished line, and reduces the chance of staining at the top. On a concrete block wall, leaving the top open usually looks incomplete. On a stone wall, the need is often more about appearance and edge protection than structure.
What is the difference between cap and coping?
Cap is the broader term, and coping is usually the more refined top-covering piece.
Drafted with AI; not yet reviewed by a person.