
 By Admin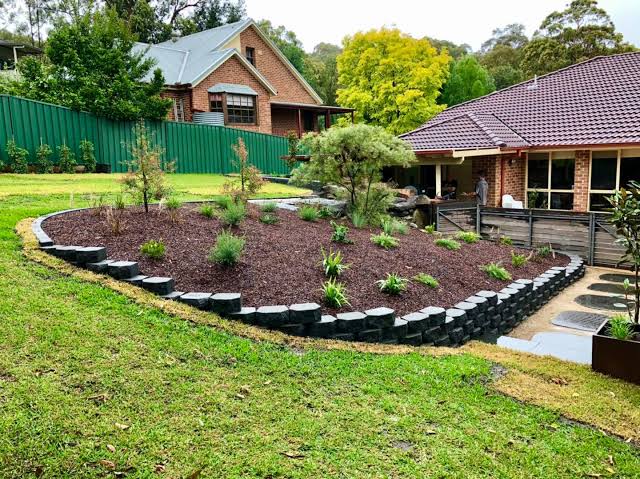
Last updated: September 10, 2026
Key Takeaways
- If it is under about 2 feet, a simple gravity or decorative wall may work.
- If it is between 2 and 4 feet, a reinforced segmental wall is often the practical sweet spot.
- If it exceeds 4 feet, expect engineering or stepped terraces.
- Use compacted crushed angular stone, not loose fill, and compact in lifts no thicker than about 4 inches.
Table of Contents
- Who this answer is for — and what I’m assuming you already know
- What is the best retaining wall design for a backyard slope?
- How do I choose the right design for my slope?
- The core build sequence I would follow
- What goes wrong with backyard slope walls?
- When should I stop and choose a different approach?
- What design details matter most for a good-looking result?
- Are there cases where a different wall type is better?
A backyard slope does not give you many clean options. Height, drainage, soil, and space decide the winner. There is no magic pick. For many yards, a reinforced segmental retaining wall with drainage stone, filter fabric, and perforated drain pipe behind it is the most practical choice; low edges can get by with a simple gravity wall, while taller or load-bearing slopes call for engineering before material shopping even matters.
Who this answer is for — and what I’m assuming you already know
You’re looking at a sloped yard and trying to figure out what will actually hold soil back, not just look neat for a season. I’m assuming you already know where the flat area should end up, and you can tell a small planting ledge from a wall that has to resist a real bank of wet earth.
Not a decorative trim piece. Not really. I’m talking about the structure that keeps dirt from sliding, fights erosion, and may need to hold a patio edge, a path, or the bottom of a terraced backyard. Once the wall rises above about 4 feet from the bottom of the footing to the top, many places want engineering, permits, or both; local rules often use that line, so check with your building department or a licensed engineer. Why? Tall walls fail in a different way. One drainage mistake can become a bulge, a lean, or a collapse.
The first question is not “stone or concrete?” It is “what is this wall resisting, and where will the water go?” A 24-inch wall on sandy fill that drains well is a very different animal from a 6-foot wall holding soaked clay after a storm. A generic how-to guide usually skips that point and jumps straight to material choice. Backwards, frankly.
If your slope is steep, if a driveway, structure, fence, or utility line sits above the wall, or if the wall needs to be over 4 feet, I’d treat it as work for a retaining wall contractor or civil/structural engineer to size, and I would confirm permits and setbacks with the local authority first. The layout can still be homeowner-friendly; the drainage should not be guessed at. For general safety and drainage guidance, see the U.S. Army Corps of Engineers on drainage and earth-retaining structures and your local code office.
What is the best retaining wall design for a backyard slope?
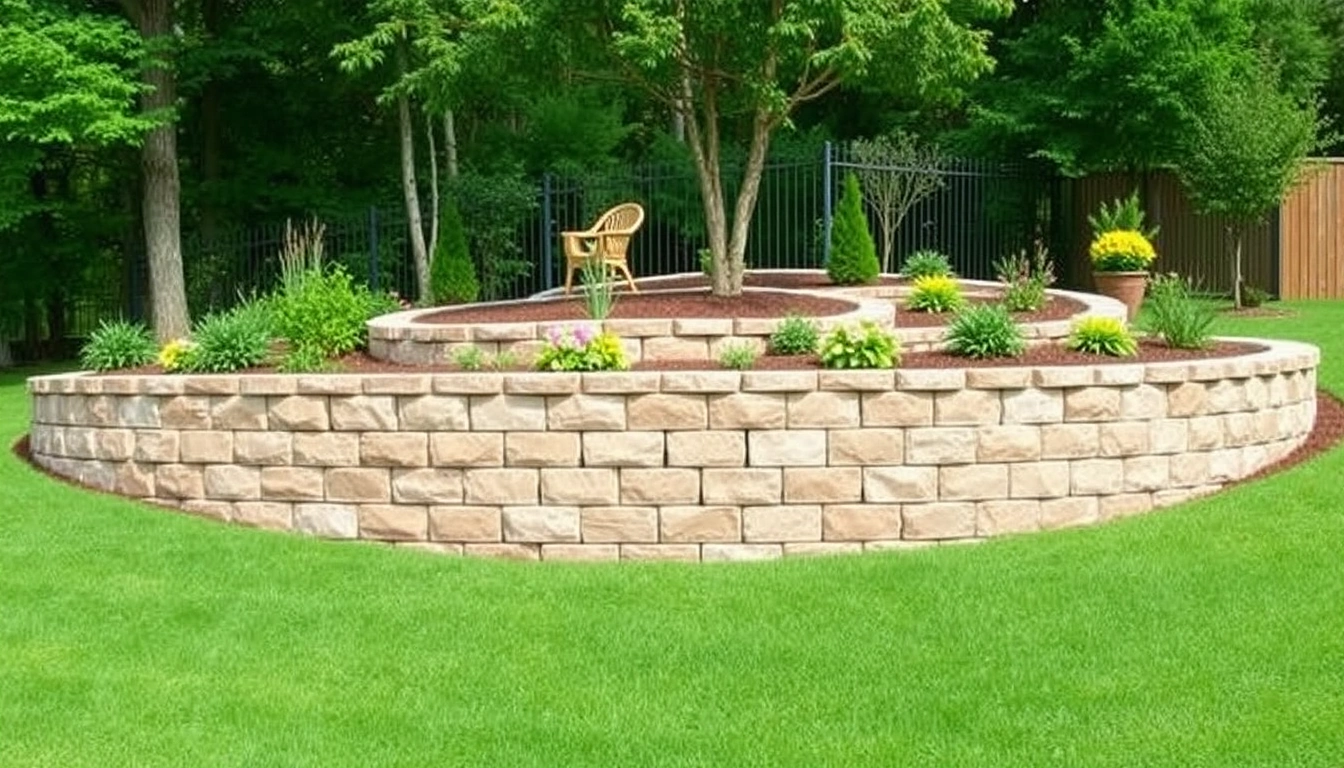
Usually, the best retaining wall design for a backyard slope is a reinforced segmental retaining wall with drainage stone, filter fabric, and perforated drain pipe behind it. “Segmental” means the wall is built from interlocking masonry units rather than poured as one solid slab. “Geogrid” is a buried synthetic reinforcement grid that ties the wall to the soil behind it; it turns the wall into a soil system instead of a simple stack of blocks.
I’d pick that design when the wall is doing real work. It handles a wide range of residential slopes, tolerates small settlement better than brittle materials, and can be stepped into terraces. That matters because most backyard slopes are not one smooth face; they change grade, take runoff from neighbors, or need stair openings. Segmental walls bend to that reality without forcing everything into one rigid line.
A gravity wall can be the right move when the wall is low—typically a few feet or less depending on material, setback room, and local rules—and the wall has enough width and mass to resist movement. Gravity walls rely on mass alone. Think large stone, large concrete units, or engineered blocks with enough width. Simpler, yes. But they need more base width and they are less forgiving when soil stays wet.
A poured concrete wall fits when you need a narrow footprint, a very clean line, or a taller engineered structure. Strong? Absolutely. Fussy? Also yes. It is less forgiving of movement and usually needs proper reinforcing steel, footing design, and drainage. In many backyards, it is more wall than you actually need.
The common mistake is picking the prettiest material first. A pretty wall without drainage is a trap dressed up as landscaping. Honestly, drainage is not an accessory; it is part of the wall.
How do I choose the right design for my slope?
Start with five checks: height, soil, water, room, and use. That order keeps you from oversizing a small edge or underbuilding something that needs to be a real retaining structure.
-
Measure the retained height at the tallest point.
Mark the bottom and top of the wall and measure the vertical difference, not the slope length. If it is under about 2 feet, a simple gravity or decorative wall may work. If it is between 2 and 4 feet, a reinforced segmental wall is often the practical sweet spot. If it exceeds 4 feet, expect engineering or stepped terraces. One warning sign: any section where the wall height changes by more than 12 inches over a short run. -
Identify the soil type.
Sandy or gravelly soil drains faster than clay. Clay holds water and adds pressure. Dig a small test hole; if it is still wet after 24 hours, assume poor drainage and plan a drain line rather than hoping the wall will “breathe.” Sticky soil that clumps into ribbons when wet is the red flag. -
Decide where the water will go.
A retaining wall should have free-draining gravel, a filter fabric layer to keep soil from clogging the stone, and a perforated drain pipe at the base that can daylight or connect to a legal drainage outlet. If there is no safe way to route the water away, the design needs revision before the first shovel hits the ground. Standing water behind the wall is a failure mode, not a small annoyance. The National Concrete Masonry Association and similar manufacturers’ guidance treat drainage as part of the wall system. -
Check available setback space.
Reinforced walls need room for geogrid that extends back into the slope. A common rule of thumb is that geogrid length increases with wall height and soil conditions, often on the order of 60% to 80% of wall height, but the exact layout depends on the block system and engineering. If the slope is too tight for that, a poured wall or a stepped terrace may fit better. -
Match the wall to the use above it.
A planting bed needs a different approach than a patio edge or driveway support. If the wall will support paving, a fence, or traffic load, the structure must be designed for that load, not merely for soil. A wall that seems fine for flowers can fail under a parked vehicle.
The core build sequence I would follow
I’d build the wall so the base, drainage, and reinforcement stay lined up from the first course upward. The face gets the attention, sure, but the hidden layers decide whether the thing lasts.
- Lay out the wall line and stakes. Mark the front face and the backfill zone with string lines and stakes, then verify the wall follows the slope without abrupt kinks. If the line wanders more than a few inches over 10 feet, the wall can start to look crooked and complicate drainage.
- Excavate a level trench for the base. Dig a footing trench wide enough for the block or wall unit plus working room, and deep enough for a compacted base course, often about 6 to 8 inches of crushed stone under the first course. Verify the trench bottom is level from end to end. A trench that dips or crowns will telegraph into the wall as lean or visible steps.
- Install and compact the base material. Use compacted crushed angular stone, not loose fill, and compact in lifts no thicker than about 4 inches. Verify the base is firm under foot and stays level after compaction. If the base shifts when you walk on it, it is not ready.
- Set the first course perfectly. Place the first row of blocks or stones with the front edge tight to the line, then check level front-to-back and side-to-side on every unit. The first course is the wall’s reference plane. If the first course is off by even a small amount, the error stacks upward.
- Place drainage stone behind the wall. Backfill with clean gravel, usually 3/4-inch to 1-inch stone, and keep soil separated by filter fabric. Verify the drainage zone is continuous and not mixed with clay. If fine soil spills into the stone, the drain zone will clog.
- Install perforated drain pipe. Put a 4-inch perforated pipe at the base of the backfill, sloped to daylight or another approved outlet. Verify water has a path out of the wall. A dead-end pipe is useless when the wall fills with water.
- Add geogrid where the design calls for it. Layer geogrid at the specified block courses, then extend it straight back into compacted fill without wrinkles. Verify the grid is taut and fully covered with soil before the next lift. If the grid is bunched or short, it cannot do its job.
- Backfill in compacted lifts. Add soil in thin layers, usually around 6 to 8 inches loose thickness per lift, and compact each layer before adding the next. Verify the wall face does not bulge or move while compacting. If it starts to shift, stop and correct the load.
- Finish the top to shed water away. Cap the wall and grade the soil behind it so water runs away from the edge, not into it. Verify no low spots collect runoff behind the wall. A top edge that traps water can undo everything below it.
What goes wrong with backyard slope walls?
Most failures come from water getting ignored, compaction getting skipped, or the wall type being too small for the job. Those mistakes usually show up in the first wet season, not years later.
One common misstep is building on unprepared soil instead of a compacted base. Settlement follows: the wall drops unevenly, joints open, and the line starts to lean. The better option is a compacted crushed-stone base, not topsoil or loose fill.
Another is leaving out drainage stone and pipe because the wall “looks solid enough.” Solid-looking walls trap hydrostatic pressure, which is the sideways force of water against the wall. That pressure can do more damage than dry soil load. The fix is a clear drainage path with gravel, fabric, and pipe.
A third problem is using the wrong wall for the height. A small stacked-stone border used for a 6-foot cut slope is not a retention system. Rotation and collapse are the usual ending. The alternative is a reinforced segmental wall, a stepped terrace, or engineered concrete.
A fourth issue is backfilling too quickly and too wet. Wet clay compacted in thick lifts stays soft and adds weight. The wall may start moving before the yard is even finished. Thin lifts and damp—not soupy—material are the safer route.
A fifth mistake is ignoring the top of the slope. If runoff comes from above, the wall is getting extra water from outside the retained area. The fix may be a swale, downspout extension, or surface drain 10 feet upslope from the wall. Without that, the wall is fighting rainfall and runoff at the same time. That math stops working fast.
When should I stop and choose a different approach?
I’d stop and change the design if the wall is outside the range a backyard DIY retaining wall can handle safely or sensibly.
The wall will be higher than 4 feet: this often triggers permit and engineering requirements — step the yard into terraces or hire a designer to size the wall.
The slope supports a driveway, garage, or parking area: vehicle loads change the design substantially — use an engineered wall, not a garden wall.
Water seeps from the slope after rain: the soil is likely saturated or groundwater is present — add a drainage plan or move the wall location.
The soil is soft, silty, or keeps slumping during excavation: the base may not hold the wall reliably — switch to a designed foundation and site-specific reinforcement.
The wall must sit very close to a property line or utility: you may not have room for geogrid or safe excavation — redesign the layout before digging.
The site is badly uneven and would need a tall single wall to make it usable: a single wall is probably the wrong shape — use two or three shorter terraces instead.
That is not caution for the sake of caution. A short wall can tolerate some imperfection. A taller one? Not so much.
What design details matter most for a good-looking result?
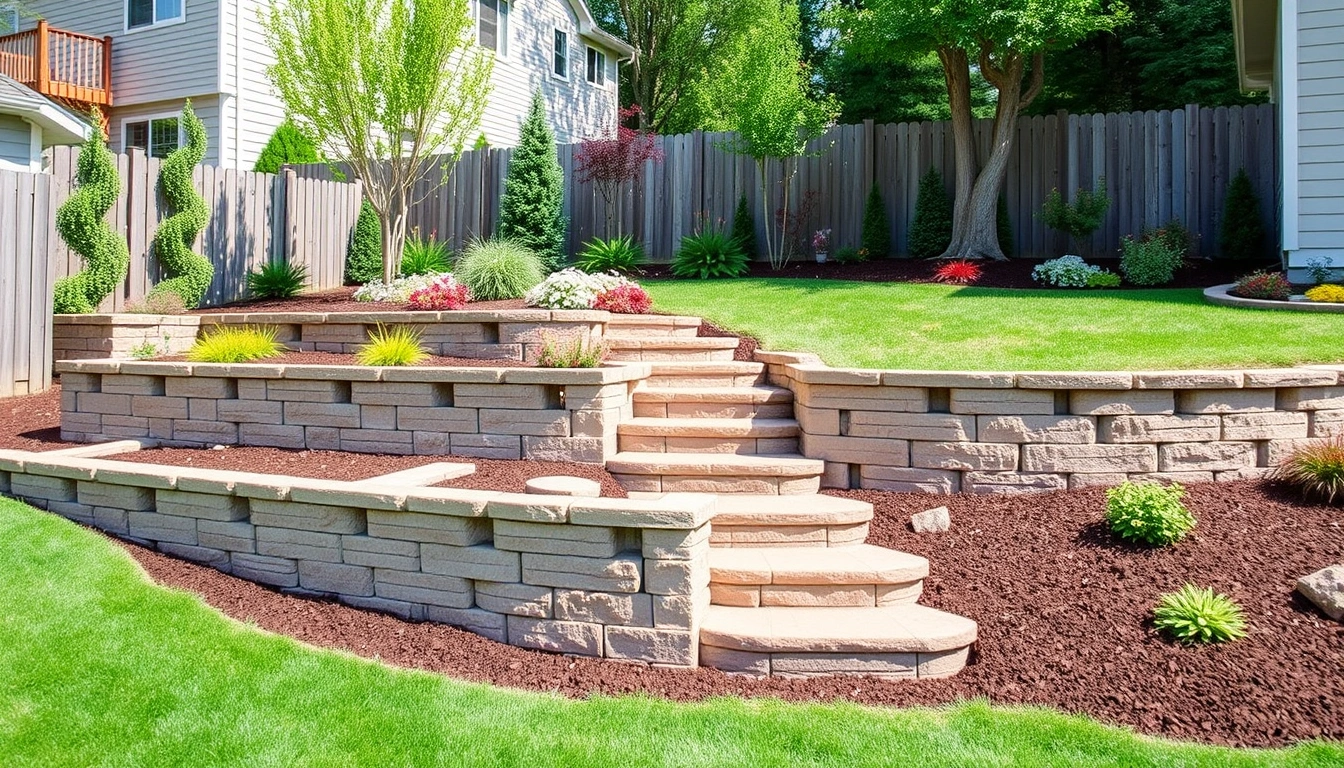
The nicest wall is the one that follows the yard instead of trying to bully it into shape. On a long slope, a small step every 4 to 6 feet often looks more natural than one long rigid run. Cap style matters too, but only after the structure is right.
I’d focus on three visual details. First, keep the wall batter, the slight backward lean built into many retaining systems, uniform from end to end. Second, avoid tiny sliver cuts at the top course; they read like bad planning. Third, carry drainage and grading into the finished yard so the wall does not look like it was dropped in after everything else.
Material choice still matters, but mostly for tone and upkeep. Natural stone gives a softer look and can suit older homes, yet it usually takes more craftsmanship to install well. Segmental concrete block gives cleaner lines and predictable geometry, but some people dislike the manufactured look. Poured concrete can be faced with stone or veneer, though that adds cost and complexity. None of those options rescues a bad structural plan.
The good outcome is simple: the wall looks straight where it should, steps where the slope demands it, stays dry at the base, and leaves no puddles behind it after a hard rain. If that is what you see after the first storm, the design is probably right.
Are there cases where a different wall type is better?
Yes. The best design changes when the site is small, steep, or carrying heavy loads. A low ornamental edge is the wrong tool for a serious retaining job, and a full structural wall is too much for a shallow planting terrace.
For a very short slope break, a gravity wall or simple stacked-stone border may be enough. For a steep but usable backyard, two or three terraces with shorter walls often perform better than one tall wall and can create planting areas that are easier to maintain. For high load or tight setbacks, poured concrete or engineered segmental systems are more appropriate.
So the best retaining wall design for a backyard slope is the one that matches the site, the water, and the load, not the one that sounds strongest in a catalog. This is less about picking a product and more about reading the slope correctly before choosing the wall.