
 By Admin
Last updated: September 10, 2026
Key Takeaways
- A retaining wall usually needs engineering once it exceeds 4 feet of retained height, but the real trigger is often lower than that.
- Check whether the number lands under or over 4 feet.
- Look at the slope behind the wall for at least 3 feet.
- Spot surcharge loads within 3 feet of the crest.
Table of Contents
- Who this applies to — and what I am assuming you already know
- How tall can a retaining wall be before it needs engineering?
- What I check before I decide a wall can stay unengineered
- When is engineering required for a retaining wall?
- What are the mistakes people actually make?
- When should I stop and get an engineer involved?
- How do I build the wall correctly once I know the height rule?
- What standard advice misses on sloped sites and terraced walls
Who this applies to — and what I am assuming you already know
Homeowners, contractors, and property owners are the audience here. They need a clean answer on when a retaining wall can follow standard details and when it turns into engineered work. I’m assuming you already know the wall’s basic job: it holds soil back, usually on a slope, and failure can mean a driveway drop-off, a yard collapse, or damage to a fence, patio, or foundation.
The quick answer to retaining wall height rules when engineering is required is blunt: once a wall gets tall enough, takes heavy surcharge loads, sits in bad soil, or supports anything important, engineering stops being optional. In many places, the “automatic” cutoff is 4 feet measured from the bottom of footing to the top of wall; local code can be stricter, though, and some walls under 4 feet still need engineering because of slope, water, or load conditions. The International Residential Code (IRC) is the reference many building departments use, but you should confirm the local amendment with your building department or a licensed professional. Those are the two places I’d check first. See the IRC and local code guidance before you build.
Not every short wall is harmless. A wall can be under 4 feet and still be a bad bet if it backs a driveway, garage, pool, building footing, steep slope, or neighboring property. Those cases deserve a licensed engineer’s design even when the height looks modest. Tiny wall, big consequences. That happens.
How tall can a retaining wall be before it needs engineering?
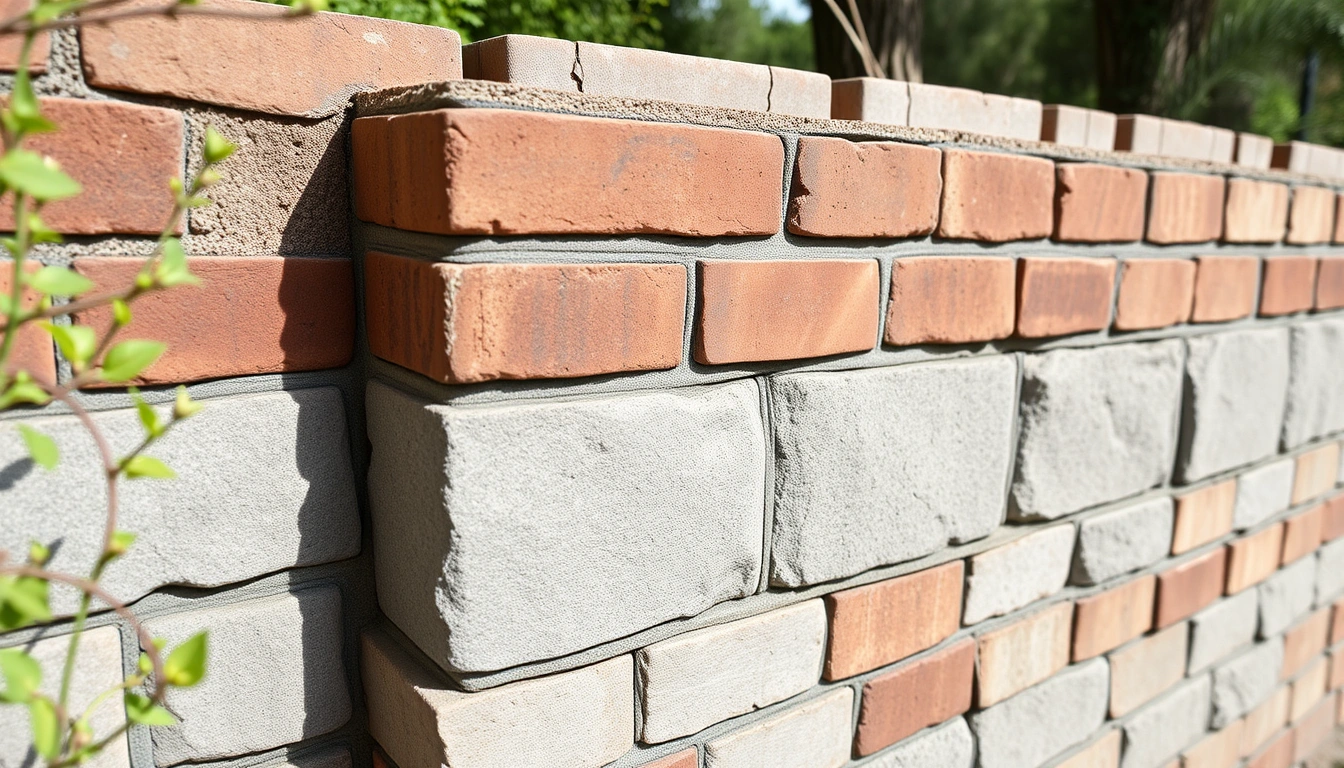
A retaining wall usually needs engineering once it exceeds 4 feet of retained height, but the real trigger is often lower than that. “Retained height” means the vertical distance from the bottom of the footing to the top of the soil the wall is holding back, not just the exposed face you see. That distinction matters because a wall that looks 3 feet tall above grade can easily count as 4 feet or more once the footing is included.
In plain terms, many prescriptive wall systems are built from manufacturer tables and local code details up to about 3 to 4 feet. Beyond that, I’d treat the wall as engineered unless your local authority says otherwise in writing and a qualified professional confirms the design basis. Even below that line, engineering is commonly required when any of these are present: sloping backfill, a surcharge load within roughly 3 feet of the top edge, a vehicle load, or weak soil.
You’ll hear code language like “above grade” and “surcharge.” A surcharge is any extra load on the soil behind the wall — a car, shed, hot tub, masonry fence, or even the footing of another structure. A 36-inch decorative wall behind a driveway can be more demanding than a 60-inch wall holding only level lawn. Strange, but true.
I would not trust the old shortcut that says blocks under 4 feet are fine. That rule ignores footing depth, drainage, soil type, and local frost conditions. Better question: not “How tall is it?” but “How much retained height and load is the wall actually carrying?”
For a code baseline, look at the IRC sections on foundation and retaining walls and your local building department’s retaining wall handout. Many municipalities publish a one-page wall chart with height limits, drainage requirements, and permit triggers.
What I check before I decide a wall can stay unengineered
I decide based on height, load, soil, drainage, and what sits near the wall, not on block size alone. This is the part people usually skip, and it’s where walls get built wrong. A wall that is “allowed” by height may still fail because the base is too narrow or the backfill holds water.
Here’s the order I use to screen a wall before I’d call it prescriptive rather than engineered:
- Measure retained height from the footing bottom, not the finished grade. Record the highest retained point and the lowest point at the face, then calculate the vertical difference. Check whether the result is under or over 4 feet. A snag appears if the wall looks short but the footing adds enough height to push it past the threshold.
- Check the slope behind the wall for at least 3 feet. If the grade rises toward a fence, patio, or another wall, treat that as added pressure, and consult a licensed professional if the layout is not clearly covered by local code. Verify that the backfill is level or near level. Trouble starts when sloped backfill creates a taller effective wall than the face suggests.
- Identify surcharge loads within 3 feet of the crest. Look for vehicles, sheds, hot tubs, concrete pads, fences with deep posts, or a nearby foundation. Confirm the wall is not carrying that load. A problem exists if the wall is holding back a driveway or structure.
- Evaluate the soil type. Clay, silty soil, and fill behave differently from well-draining granular backfill. Check whether the wall will sit on native soil, compacted structural fill, or loose excavated soil. A problem shows up if the base soil is soft, wet, or mixed fill with no compaction record.
- Plan drainage from day one. Specify free-draining granular backfill, filter fabric where appropriate, and a perforated drain pipe if the design calls for one. Confirm there is a path for water to leave the wall. A problem exists if water can collect behind the wall with nowhere to go.
- Check frost depth and footing embedment. Footings need to extend below local frost depth where required, or at least to the depth the local code and wall system specify. Confirm the base course will not be left in the active freeze-thaw zone. A problem exists if the wall will heave in winter.
- Confirm setbacks, property lines, and utility clearances. Measure the distance to the lot line, easements, and buried services. Check that the wall does not encroach. A problem exists if excavation or footing placement risks a utility strike or a boundary dispute.
- Ask whether the wall supports anything critical. If failure would damage a house, pool, septic component, public sidewalk, or neighboring land, consult a licensed engineer or other qualified professional regardless of height. Confirm the wall is not part of a larger structural system. A problem exists when the wall has consequences beyond landscaping.
If all eight checks are clean and the wall is under the local threshold, a prescriptive detail may be acceptable. If even one check is dirty, I’d stop treating the wall as a simple landscaping job and get a professional review.
When is engineering required for a retaining wall?
Engineering is required whenever the wall leaves the simple, low-risk category and enters a structural one. That can happen at 4 feet, but it can also happen at 30 inches if the wall supports a driveway or sits in poor soil. Honestly, this is the most useful rule: height starts the conversation; load and site conditions finish it.
A licensed engineer’s design usually becomes necessary when the wall is over the local code limit, when it carries a surcharge, when it is terraced in a way that creates combined pressure, or when the site has unusual soil or drainage conditions. In some places, an engineered plan is also needed if the wall is near a public right-of-way or part of a permit application tied to grading.
The engineering drawing should spell out more than the face of the wall. It should show footing width and thickness, embedment depth, reinforcement pattern if using reinforced concrete or geogrid, drainage details, compaction requirements, and any special backfill limits. If the plan does not include those items, it is incomplete for field use.
A common mistake is assuming a manufacturer’s catalog replaces engineering. Segmental retaining wall systems often have technical manuals with maximum wall heights, geogrid schedules, and drainage requirements. Those manuals are useful, but they are not a universal pass. They work only when the site fits the assumptions: level backfill, proper soil, clean drainage, and no extra loads. If the wall is taller than the published limit or the site is outside the assumptions, engineering is the next step. No magic there.
I’d also be cautious with “tiered” walls. Two shorter walls separated by a small bench can still act like one tall wall if the spacing is too tight. Many building departments treat closely spaced tiers as a single structure, especially if the upper wall is within a few feet of the lower wall. That is one of the easiest ways to accidentally cross the engineering line while thinking each wall is under the limit.
What are the mistakes people actually make?
The biggest errors are not glamorous; they’re measurement errors, drainage errors, and overconfidence in a block system. They cost money because fixing a failed wall usually means demolition, excavation, and rebuilding from the base up.
-
Measuring the exposed face instead of retained height. The consequence is underestimating the wall by 6 to 18 inches or more. The correct alternative is to measure from footing bottom to retained grade at the highest point.
-
Ignoring water. A dry-looking wall can still fail because hydrostatic pressure builds behind it after storms. The consequence is bulging, leaning, or blowout. The correct alternative is a drainage layer, outlet path, and backfill that does not trap water.
-
Building on unverified fill. Loose fill settles after construction, which opens joints and shifts the base course. The consequence is uneven movement and cracking. The correct alternative is compacted structural fill in controlled lifts, typically 6 to 8 inches per lift depending on the specification.
-
Putting loads too close to the wall. A fence, vehicle, or patio edge can add more pressure than expected. The consequence is reduced stability and possible overturning. The correct alternative is to keep surcharge loads back from the crest or redesign the wall for the load.
-
Using the wrong wall type for the site. A gravity block wall that is fine for 3 feet may be the wrong tool for 6 feet or for unstable soil. The consequence is a wall that looks built but is structurally underdesigned. The correct alternative is an engineered solution such as reinforced segmental wall, poured concrete, or reinforced masonry.
-
Skipping permits because “it’s just landscaping.” The consequence can be stop-work orders, forced changes, or trouble at resale. The correct alternative is to check the permit threshold first, especially for walls near 4 feet or on sloped sites.
When should I stop and get an engineer involved?
You should stop and get an engineer involved the moment the wall stops being a plain landscaping wall and starts behaving like a structure. That is the right move in at least these cases:
The wall is at or above 4 feet of retained height: this usually crosses the standard code trigger — get a design before you dig.
The wall holds up a driveway, parking area, or vehicle path: the surcharge is not decorative, it is structural — have it engineered.
The wall is near a building, pool, septic field, or public sidewalk: failure would have serious consequences — do not rely on a prescriptive detail.
The site has clay, soft fill, seepage, or a history of saturation: the soil conditions can drive failure even at modest heights — get a site-specific design.
The wall is tiered or stepped and the upper wall is close to the lower wall: the two walls may act together — ask for an engineered layout.
The wall needs to cross a property line or sit in an easement: boundary and load issues complicate the design — stop and verify before construction.
The local building department wants a stamped plan: the permit process is telling you this is not a prescriptive job — follow the permit requirement.
If you’re already holding a shovel and one of those situations applies, I would not “see how it goes.” The cost of a design is usually much smaller than the cost of rebuilding a failed wall. For a stamped plan, the price varies by region and wall complexity, so I’d ask local engineers for a written scope rather than guessing.
How do I build the wall correctly once I know the height rule?
Build it to match the design, not the other way around. Height, load, and drainage conditions should set the details; field work should stay close to the plan. The details matter because a wall that is 1 inch off at the base can carry poorly for its entire height.
The sequence is straightforward:
- Lay out the wall line and stakes so the final wall follows the plan, not the trench.
- Excavate to the specified base depth and width. If the plan calls for a 6-inch compacted base under the first course, do not treat that as optional.
- Compact the base material in lifts and verify level tolerance before the first block goes in. The first course sets the geometry for everything above it.
- Set the first course carefully and check level front to back and side to side. If the bottom course wanders, the wall will chase that error upward.
- Install drainage stone, geotextile where specified, and perforated pipe if the design includes it. Confirm the outlet is open and lower than the wall base where required.
- Backfill in compacted lifts, usually in the range the manufacturer or engineer specifies, rather than dumping soil in one big push. Verify compaction does not shove the wall out of plumb.
- Add reinforcement exactly as shown, including geogrid length and spacing if the wall uses it. Check that each layer is fully embedded and correctly overlapped if the system requires overlap.
- Finish the top with cap units, grading that sheds water away from the wall, and no concentrated runoff directed at the backfill. Make sure the area above the wall does not funnel water into it.
A “good” result is a wall that stays plumb, drains cleanly, and shows no bulging or open joints after the first hard rain. A bad result is often visible early: a leaning top, settling at the base, wet spots at the face, or a cap that starts to separate. You can see the wobble before the wreck.
What standard advice misses on sloped sites and terraced walls
Standard advice misses that slope changes the wall’s effective load, even when the exposed face looks modest. On a site that stays dry and relatively flat, the wall may perform as planned; on a saturated slope, the same wall can face much higher pressure and more movement. That’s why site conditions matter as much as height.
When a slope rises behind the wall, the retained soil is taller than the front face suggests, and the load can increase faster than people expect. That is especially true where runoff from uphill areas collects behind the wall. If the grade is steep or the soil stays wet after storms, a licensed engineer should evaluate the wall before construction. For broader drainage guidance, local stormwater manuals and the U.S. EPA’s runoff resources are useful references.
Terraced walls create a different problem. The lower wall does not just hold its own soil; it may also be influenced by the upper wall, the bench between them, and any runoff coming off the upper tier. If the spacing is tight, the two walls can act as one system and amplify pressure. That is why closely spaced terraces often need to be designed together rather than one at a time. Consult your local code and a professional engineer if the bench width is uncertain or the site carries a steep or wet slope.
A strong site can still complicate construction. Even a well-built wall on sound ground can be affected by excavation limits, access for compactors, and property constraints that force a compromise in layout. If the wall has to fit tight to a line, a slope, or another structure, the geometry should be checked before work starts. For property-line and easement questions, the county recorder or local planning office is a better source than guesswork.
The practical takeaway is simple: if the site is wet, steep, or constrained, the wall is no longer just a retaining wall height rules when engineering is required question. It becomes a site-specific design problem, and the cost of engineering is usually small compared with the cost of correcting a failure.