
 By Admin
Last updated: September 10, 2026
Key Takeaways
- Check with a level every 2 to 3 feet.
- Same rule for a wall 3 feet tall or 6 feet tall.
- One practical line: once the wall’s height is above about 4 feet, many jurisdictions require engineered design or permits for rebuilding.
- Put stakes at both ends and run string 1 to 2 inches in front of the face where you want the finished line to be.
Table of Contents
- Who this is for — and who should do something else
- How do I tell if the wall can be repaired or needs rebuilding?
- What you need to fix a leaning retaining wall
- How do you repair a leaning retaining wall step by step?
- What mistakes cause a repaired wall to lean again?
- When should I stop and rebuild instead?
- What changes for timber, block, stone, and concrete walls?
- How long does a real repair take, and what should the finished wall look like?
A leaning retaining wall usually means the backfill is pushing harder than the wall was built to handle, or the footing and drainage have failed. When people ask how to repair a leaning retaining wall, the answer is blunt: lower the pressure, rebuild the drainage, then reset the structure. Small lean? Often fixable. But if the wall is bulging, cracking through the middle, or leaning several inches over a short run, you are not doing a cleanup job anymore; you are dealing with structure. Ugly truth.
Who this is for — and who should do something else
This applies to homeowners dealing with a timber, block, stone, or poured-concrete retaining wall that has started to tilt but is still standing. I’m assuming you can dig, use a level, work with gravel and compacted soil, and recognize basic wall parts like the cap, drain pipe, and footing. I’m also assuming the wall is short enough to repair from the yard side without special access equipment. Fair trade-off: less machinery, more elbow grease.
A few wall conditions push this out of the DIY category fast. Support for a driveway, a structure, a steep slope, or more than one side of a terrace changes the load picture right away. Heavy-rain movement is another red flag; the drain path is probably blocked. And if the wall has a big outward bow, stepped cracks through block joints, or a footing that has visibly dropped, consult a structural engineer or local retaining-wall contractor; USGS notes that slope and retaining-wall failures often need professional assessment, not just surface repair. That’s not overkill.
One practical line: if the wall’s height is above about 4 feet, many jurisdictions require engineered design or permits for rebuilding. That is not a trivia point; it changes what “repair” means, both legally and on site. The concrete block and drainage details matter too. A wall with no perforated drain pipe, no clean gravel backfill, or no filter fabric behind the block is much likelier to fail again if you simply shove it back and heap soil around it. Cheap fix, expensive do-over.
A good DIY candidate is a low wall with limited lean, no major cracking, and room behind it to excavate 12 to 18 inches for drainage work. A poor candidate is a wall that is actively collapsing or has already lost alignment along most of its length. In that case, patching the face is wasted labor.
How do I tell if the wall can be repaired or needs rebuilding?
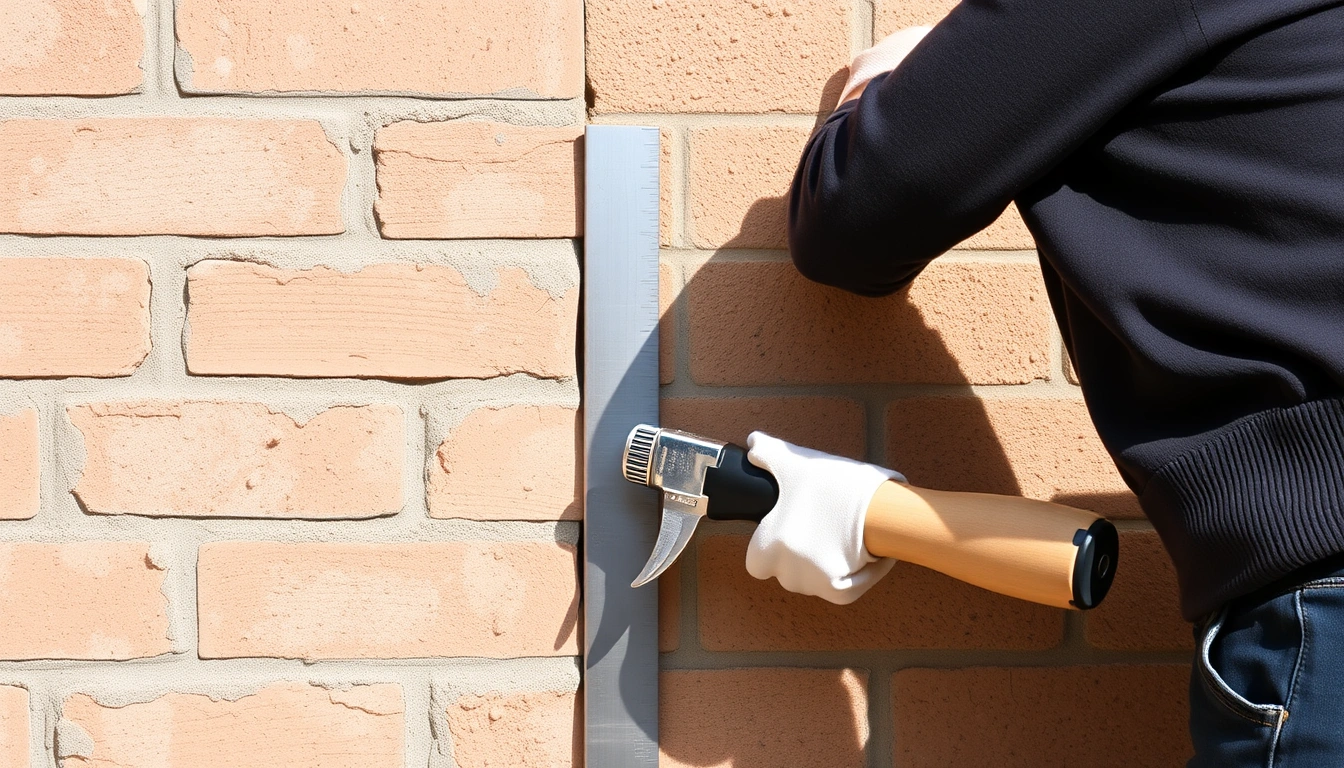
Start with the lean, the crack pattern, and the base. Use a 4-foot level or a plumb line, and measure how far the face is out of plumb over the wall’s height. Small movement across a short wall can sometimes be corrected; if the top has shifted several inches, the base is usually the real problem.
Cracks tell a different story. Hairline mortar cracks are not the same as stepped cracks that run through multiple blocks or stones. In segmental concrete retaining wall block, stepped cracking usually means the wall is moving as one unit, which often points to poor drainage or no geogrid reinforcement. Geogrid is the synthetic mesh laid into soil layers behind the wall to tie the backfill to the structure. If it is already there and the wall still leans, the original layout may have been wrong or the drainage may be clogged. Rain exposes that fast.
After a storm, look behind the wall. Pooling water, soggy soil that stays wet for more than a day, or a missing or buried drain outlet all point to hydrostatic pressure — the sideways force of water in the soil. That pressure can bend timber and bow block surprisingly quickly. FHWA retaining-wall guidance treats drainage as a core design and maintenance issue for a reason.
I’d keep the wall if the lean is modest, the footing is sound, and you can reach the backfill side. I would not try to save a wall that has rotated at the base, lost section of footing, or separated from corners and returns. Those are not minor flaws. Those are different jobs.
What you need to fix a leaning retaining wall
You need excavation tools, drainage materials, and a way to compact soil in layers. At minimum, that usually means a shovel, a trenching spade, a hand tamper or plate compactor, a 4-foot level, string line, a tape measure, crushed stone, drainage pipe, and filter fabric. For block walls, you may also need a masonry chisel, rubber mallet, landscape adhesive, and replacement cap blocks.
The drainage material matters more than the cosmetic finish. Use clean, angular gravel, often sold as 3/4-inch drain rock or similar. Rounded pea gravel does not lock together as well and is weaker as a support zone. For the pipe, a 4-inch perforated PVC or corrugated drain pipe is the standard size in many residential builds, though the exact product should match the wall design and outlet route. The pipe must slope to daylight or a proper drain point; a pipe with no exit simply collects water. Dead end. Bad math.
Filter fabric keeps fine soil from migrating into the gravel and clogging it. That fabric should line the back of the gravel zone and wrap the drain rock if the design calls for it. Skip the fabric and the repair often fails sooner, because the wall stays wet even after you “fixed” the drainage. That’s the part people hate hearing.
If you are rebuilding a timber wall, consult the wall manufacturer or a licensed contractor about treated posts rated for ground contact, galvanized fasteners, and proper post spacing. I would not use untreated lumber or mixed hardware without checking the wall system and local corrosion requirements. On block walls, check whether the block system uses pins, lips, or adhesive. The manufacturer’s system matters because segmental retaining walls are not all built the same way.
How do you repair a leaning retaining wall step by step?
Lower the pressure first, then rebuild the base and drainage. After that, straighten the wall. Skip the soil and water problem, and the wall will usually lean again. Simple as that.
- Mark the wall’s current line with string. Set stakes at both ends and run string 1 to 2 inches in front of the face where you want the finished line to be. Check the amount of lean with a level or plumb line. If the wall is out of plumb by more than about 1 inch in 4 feet, expect more than a surface fix.
- Excavate the backfill behind the failing section. Dig down to the base and back at least 12 to 18 inches from the wall, or far enough to expose the drain zone and footing. Check that you can see the source of the lean. If the wall moves more as you dig, stop and brace it.
- Remove wet, packed, or clay-heavy soil from the drainage zone. Take out any saturated soil and replace it with clean gravel. Check that the area drains instead of holding shape like a mud bank. If water keeps seeping into the cut, the wall may need a wider drain correction or a new outlet.
- Inspect and replace the drain pipe. If there is a perforated pipe, expose it, flush it, and replace it if it is crushed, silted, or flat. Set new pipe with a continuous slope of roughly 1/8 inch per foot toward the outlet. Check flow by pouring in water at the uphill end. If water backs up, the outlet is blocked.
- Reset the base course or footing. For block walls, remove the first course where needed and level the base on compacted stone dust or the manufacturer’s base material. For timber walls, reset posts so they sit on firm, drained bearing and are plumb before fastening. Check with a level every 2 to 3 feet. If the base rocks, the wall will keep walking.
- Rebuild the backfill in lifts. Add 6 to 8 inches of gravel directly behind the wall, then compact soil in 4- to 6-inch lifts farther back. Check that each lift firms up before the next goes in. If the fill feels soft or spongy, rework it before burying it.
- Straighten the wall gradually as you backfill. Use a come-along, braces, or controlled pressure only if the wall style can accept it and the damage is minor. Bring the face back to plumb a little at a time, checking every few courses. If blocks crack or timber joints open, you are forcing a structural problem.
- Restore cap blocks, finish grade, and direct water away. Reinstall caps, seal joints if the wall system calls for it, and slope the finished grade away from the wall by at least about 2 percent. Check that surface water does not run into the backfill. If runoff still collects behind the wall, the repair is incomplete.
The sequence matters because the wall is usually fighting water and soil before it is fighting masonry. The clean repair leaves the wall drier, better supported, and easier to inspect later. That is the win.
What mistakes cause a repaired wall to lean again?
The most common mistake is resetting the face without fixing the backfill. That gives you a wall that looks straighter for a while and then rotates again after the next heavy rain. So the drainage layer and outlet come first. Always.
Another mistake is using native clay or fine soil directly behind the wall because it is cheaper and easier to pack. Clay holds water and expands, which adds pressure. Use clean gravel in the drain zone, then compact suitable soil farther back in thin layers. If the wall has a drain pipe, burying it in mud is just hiding the problem.
A third error is compacting too much too close to a weak wall. A plate compactor is useful, but slamming it against a thin timber wall or an unreinforced block wall can worsen movement. Compact in layers and keep heavy compaction equipment at a safe offset from the face. If the wall is fragile, use hand tamping near the structure. Old walls can be fussy.
Fourth, people often ignore the outlet. A drain pipe that goes nowhere is decoration. If the pipe cannot discharge to daylight or a functioning drain point, water will stay behind the wall. That is true whether the wall is 3 feet or 6 feet tall.
Fifth, some repairs simply cover the face damage and leave the footing uneven. If the base course has settled, the wall cannot be made true by nudging the top. You need a flat, stable bearing surface. If the base is bad, rebuild that section rather than trying to hide it.
When should I stop and rebuild instead?
Stop and rebuild when the wall is no longer behaving like a stable structure. Here are the clearest triggers:
The top has moved several inches out of line over a short run: This usually means the wall has rotated, not just leaned — rebuild the affected section rather than trying to pull it back.
There are stepped cracks through multiple block courses: The wall is moving internally — take it apart to the point of failure and reset the base and drainage.
The footing has settled or washed out: The support has failed — patching the face will not fix a sinking base.
Water comes out from behind the wall after rain and the soil stays saturated: Drainage is failing — expose the drain line, clear the outlet, and replace blocked sections before any cosmetic repair.
The wall supports a driveway, patio, fence, or structure: The load changes the risk profile — rebuild with proper design, not a partial straightening job.
The wall is higher than about 4 feet or sits above a drop-off: The consequences of failure are larger — this is the point where an engineered rebuild is the sensible path.
I’d also stop if the wall starts moving as soon as you excavate behind it. That means the backfill is still providing critical resistance. In that case, temporary bracing and a more controlled rebuild are safer than continuing to dig by hand.
What changes for timber, block, stone, and concrete walls?
The repair strategy is the same, but the details change. Timber walls fail at posts, ties, and decay points. If the posts are loose or rotted, replace them; do not trust a straightened face attached to a failing frame. A treated post rated for ground contact and properly drained post holes matter more than fresh boards, and you should consult the manufacturer or a contractor if the wall is load-bearing or near the ground-contact threshold.
Segmental concrete block walls usually lean because of drainage, missing geogrid, or base settlement. These walls are built course by course, often with a setback built into the block shape. If the setback has been defeated by bad backfill, you may need to dismantle several courses and rebuild them with the proper base width and reinforcement. That is why simple “push it back” repairs often fail.
Natural stone walls depend on mass and gravity, so movement often points to poor batter, loose stones, or undermined footing. Batter is the backward tilt built into the wall face. If the wall has lost batter, it needs partial take-down and reset, not just patching.
Poured-concrete retaining walls are the least forgiving. If they are leaning, cracking, or footing-failed, I would treat them as structural. Surface patching or cosmetic veneer does nothing for a wall that has moved as a monolith. Concrete repair is usually about diagnosis first, not hope.
How long does a real repair take, and what should the finished wall look like?
A small DIY repair can take a long weekend, but the excavation, drainage, and reset work usually decide the schedule more than the wall face itself. A 10- to 15-foot section with reachable drainage may be a 1- to 3-day job for one careful person, depending on soil type and access. Clay, wet ground, and blocked drainage add time fast. No surprise there.
A good result is not just a straighter face. The wall should be plumb or close to it when checked with a level, the base should not rock, the backfill should drain freely, and the top should stay in line after the first hard rain. The finished grade should shed water away from the wall, not into it. If you can see a clean drain outlet and the wall no longer feels damp behind the repair section, that is the sign the work addressed the cause.
I’d call the repair successful only if the wall still looks stable after a few weather cycles. If it leans again right away, the fix missed something.