
 By Admin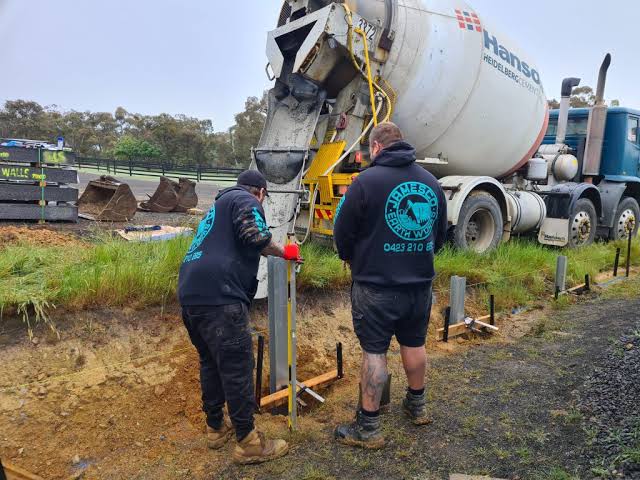
Last updated: September 10, 2026
Key Takeaways
- A bid that is $1,000 lower because it skips drainage fabric, compaction, or proper excavation is often the more expensive bid.
- Measure the proposed wall from the lowest exposed grade to the finished top and note any section above 4 feet.
- A quote can be $5,000 or $15,000 for what looks like the same wall because site conditions change the work.
- A common mistake is placing the upper wall too close to the lower one.
A weak wall usually traces back to one of four things: a flimsy base, bad drainage, poorly packed backfill, or a wall designed for the wrong soil load. That’s the real issue. And if you are trying to decide who to call, common retaining wall construction mistakes how avoid them is the question that matters most, because the difference between a wall that lasts and one that bows, cracks, or leans is usually hidden below ground.
Who this applies to — and who should do something else
Homeowners, property managers, and small developers are the group here. So are people planning a timber, segmental concrete block, or poured-concrete retaining wall of roughly 2 to 6 feet for a yard, driveway edge, garden terrace, or slope control. I’m assuming you already know the wall’s basic job: hold back soil on one side and stay straight under pressure. I’m also assuming you want to judge a contractor, compare bids, or catch a job going sideways before the backfill goes in.
But if the wall will hold a driveway, a pool deck, a structure, or any slope with visible water seepage, call a qualified retaining wall contractor or civil engineer instead of treating it like a decorative landscaping project; local code and manufacturer guidance also matter. Same answer if the wall is taller than about 4 feet, measured from the bottom of the footing to the top of the wall, because many jurisdictions require engineering or a permit at that point, and standards from NCMA and similar industry guidance treat taller walls differently. The exact threshold varies by local code, and frost depth, clay content, and slope angle can make a “small” wall behave like a much larger one.
I would not try to save money on site prep here. Honestly, that’s where the bill bites later. A qualified pro should confirm the scope if the site is uncertain, and a bid that is $1,000 lower because it skips drainage fabric, compaction, or proper excavation is often the more expensive bid.
What a retaining wall actually needs to do
A retaining wall does not just “stand there.” It resists lateral earth pressure, which is the sideways force soil exerts when it is piled up behind a vertical face. Water has a say, too. It adds weight, raises pressure, and turns many soil types into a sliding load.
The basics are straightforward, but easy to miss on site: the wall needs a compacted base, a drainage path, free-draining backfill, and enough reinforcement for its height and soil load. In segmental retaining wall systems, that reinforcement is often geogrid, a synthetic mesh layer buried in the backfill to tie the wall into the soil mass behind it. In poured concrete walls, it may be steel reinforcement and a footing sized for the load.
What I look for in a proper plan is not perfection on paper; it is whether the design answers four questions: where does the water go, what keeps the base from moving, what keeps the wall from tipping, and what stops the backfill from turning into a sponge. If a contractor cannot explain those points in plain language, that is a warning sign even if the estimate looks tidy.
Landscape fabric alone? No. It can help keep fine soil from clogging stone, but it is not a substitute for perforated drain pipe, clean aggregate, or an outlet. A wall with no drain outlet can look fine for a year and still fail after a wet season, according to manufacturer installation guides and FHWA retaining-wall guidance. That kind of failure sneaks up like a bad surprise in slow motion.
The most common retaining wall construction mistakes
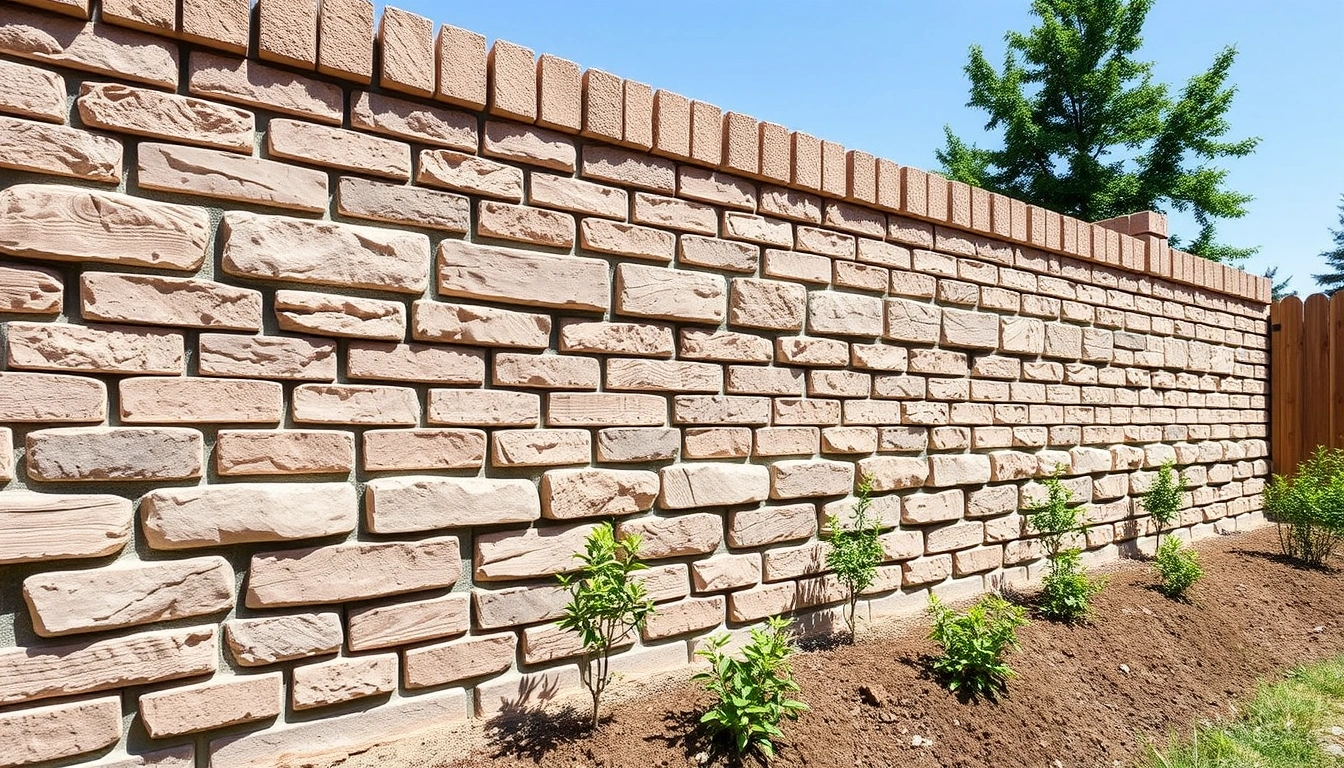
The most common retaining wall construction mistakes are poor base prep, no drainage, wrong backfill, missing reinforcement, bad leveling, and ignoring site water. Each one creates a specific failure mode, and each one is avoidable if the contractor follows the wall system’s specifications instead of improvising.
-
A shallow or uneven base
A retaining wall needs a firm, level footing or base trench, often 6 to 12 inches deep for small segmental walls, more in weak soils or freeze-prone areas. If the base is not compacted in lifts, the wall settles unevenly. The visible result is stair-stepping, gaps, and a wall that starts to lean. The fix is simple in theory: excavate to competent soil, compact the base material in thin layers, and verify level from end to end before the first course goes down. -
No drain pipe or no outlet
A 4-inch perforated drain pipe behind the wall is common on many jobs, but the exact layout depends on wall height and local conditions. If water has nowhere to escape, hydrostatic pressure builds. That pressure pushes harder than soil alone and can move blocks, crack concrete, or force the wall outward. The correct approach is a drain pipe at the base, surrounded by clean stone, with a daylight outlet or a proper tie-in to an approved drainage system. -
Using the wrong backfill
Clay or silt packed right against the wall holds water and expands when wet. That is the wrong material for the zone immediately behind the wall. A better choice is free-draining aggregate near the wall, with native soil kept farther back where it will not trap water directly against the structure. The error usually shows up as bulging, soft spots, or seepage at the face. -
Skipping geogrid or using too little reinforcement
Many segmental walls need geogrid reinforcement in layers, extending back into the retained soil. If the wall is built taller than the system allows without reinforcement, it can bow or rotate forward. The correct alternative is to follow the manufacturer’s spacing and embedment length or, for a custom wall, use an engineered design. A wall that is “just a little taller” than recommended is not a little problem. -
Poor setback or batter
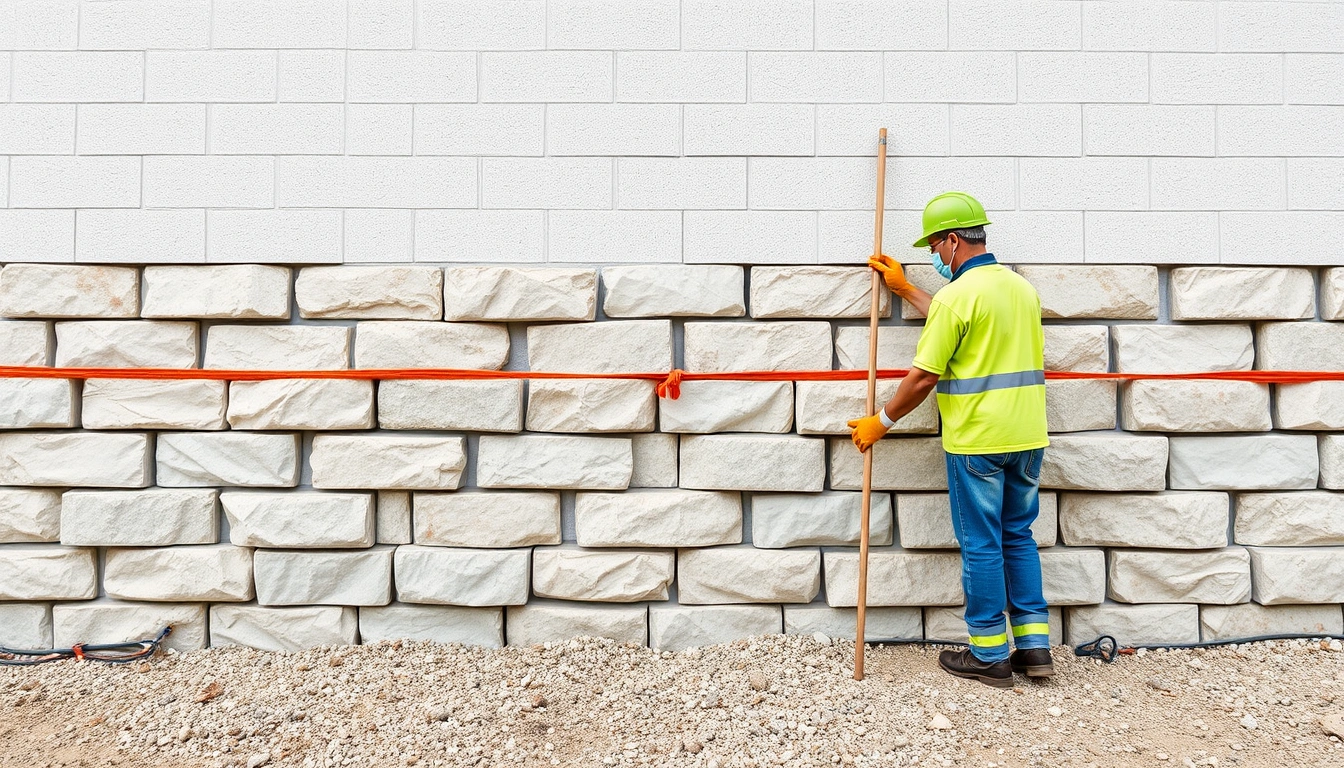
Many retaining wall blocks are designed with a slight backward lean, called batter, so the wall resists tipping. If the courses are stacked vertically when the system expects a setback, the wall loses stability. Verify the manufacturer’s alignment method, whether it uses pins, lips, or geogrid, and check with a string line every few courses. -
Ignoring runoff above the wall
Even a well-built wall can fail if roof water, driveway runoff, or hillside flow pours behind it. The wrong solution is to “let the wall handle it.” The correct one is to intercept water uphill with swales, drains, or grading that sends water away from the wall. A dry wall facing a saturated hillside is not a dry wall for long.
How do I know if a retaining wall contractor is doing it right?
Check the excavation first. Then look at the drainage details. After that, listen to whether the contractor is willing to discuss standards before the wall is finished. A contractor who talks only about block color and face style has not done enough of the job. I’d want specifics: compacted base thickness, pipe size, drainage outlet location, geogrid spacing, and the wall system being used.
For common retaining wall construction mistakes how avoid them, here is the process I would expect on a typical residential wall:
- Mark the wall line and verify the height. Measure the proposed wall from the lowest exposed grade to the finished top and note any section above 4 feet. Verify whether permits or engineering are required in your area. A problem shows up if the plan ignores height changes across the wall length.
- Excavate a base trench wide enough for the footing or first course. For small block walls, the trench often needs to be at least twice the block depth so the block sits fully supported. Verify that the trench reaches firm subsoil, not loose fill. If the bottom feels spongy or muddy, stop and rework it.
- Install and compact the base material in lifts. A granular base such as crushed stone is usually placed in 2- to 4-inch layers and compacted each time. Verify level with a laser level or string line. If the base rocks underfoot or the level wanders, the wall will telegraph that error upward.
- Place the first course perfectly level. The first row controls the whole wall. Verify front-to-back and side-to-side level at multiple points. If the first course is off by even 1/4 inch in a short run, the error can compound fast.
- Backfill drainage stone immediately behind the wall. Use clean aggregate in the drainage zone and keep native soil out of that band. Verify that the drain pipe remains open and slopes to an outlet. If the stone zone gets contaminated with mud, drainage drops sharply.
- Install geogrid where the design calls for it. Cut the grid to the correct length, place it flat, and bury it at the specified course intervals, often every 2 to 3 courses on moderate walls. Verify full embedment and proper overlap if the system requires it. A problem is visible when the grid is bunched, short, or left exposed.
- Compact backfill in thin lifts. Add soil in 6- to 8-inch lifts, compact each lift, and keep heavy equipment far enough from the wall to avoid pushing it over. Verify that the wall face stays plumb after compaction. If the face moves during backfill, the wall is already under stress.
- Finish the top and manage water above the wall. Shape the grade so water sheds away from the back edge. Verify that downspouts, swales, or drainage paths do not dump onto the wall. If water pools at the top after a rain, the job is incomplete.
A good result is not just a straight wall on day one. It’s a wall that stays straight after a wet week and a freeze-thaw cycle, with no staining, no bulging, and no signs of movement at the base.
What should I ask before I sign a retaining wall quote?
Ask about drainage, base depth, reinforcement, and what the quote excludes. Those four points tell you whether the contractor is building a wall or just assembling a face. I would also ask for the wall system name, the expected drainage outlet location, and whether the price includes permit drawings if your city requires them.
Ask these questions in plain language:
- What is the excavation depth and base thickness?
- Is there a 4-inch perforated drain pipe, and where does it discharge?
- What material goes directly behind the wall?
- Does the system use geogrid, pins, or rebar, and at what spacing?
- How much of the wall price is labor versus materials?
- What happens if the site has soft soil or hidden fill?
A quote can be $5,000 or $15,000 for what looks like the same wall because site conditions change the work. Hauling spoil, cutting into a slope, dealing with clay, adding geogrid, or extending drainage to daylight all change cost. I’d be wary of a price that is fuzzy about extras. An honest contractor will say what the wall assumes and what triggers a change order.
Ask one more thing: how long will it take? A small residential wall may take 2 to 5 working days; a taller or more complex one can take longer because excavation, drainage, and compaction cannot be rushed. If someone promises a large wall in a single day, I would want to know what got skipped. That math stops working fast.
When should you stop and redesign instead of building as planned?
Stop and redesign when site conditions make the original wall detail unsafe or short-lived. These are the situations that change the job:
Wall height above local code thresholds: Many areas require engineering or a permit above about 4 feet — get the design checked before work starts. Building first and asking later can mean demolition or failed inspection.
Visible water seepage from the slope or soil: Water pressure is already part of the load — add drainage design, not just more block. Without an outlet, the wall can fail after the first heavy rain.
Soft fill, buried debris, or mixed soil behind the wall line: Uncontrolled fill settles unevenly — excavate and rebuild the base zone rather than compacting over junk.
Steep slopes or limited setback room: The wall may need a larger footprint, terracing, or geogrid — a narrow wall without room behind it is a common failure setup.
Driveway, pool, or structure load near the top: Extra surcharge load increases lateral pressure — the wall needs engineering, not a standard landscape detail.
Freeze-thaw conditions or poor drainage climate: Water expansion and repeated freezing magnify small drainage mistakes — use deeper base preparation and better drainage details.
Wall length with multiple grade changes: Uneven loading can twist the wall — segment the design or add movement joints and proper returns.
If a contractor says “that’s fine” without asking about soil type, groundwater, or total retained height, I would stop the job and get a redesign. Best place to change course. Cheaper there than later.
Edge cases where the standard detail does not apply
Clay soils, frost zones, and tight urban sites all change the standard wall detail. Clay holds water, so the drainage zone behind the wall matters more and native clay should stay farther from the face. In a frost-prone climate, the base often needs to sit below frost depth or be designed to tolerate frost movement, depending on local practice and wall type. On a narrow lot, there may not be room for a full geogrid embedment length, which can force a different wall system or terracing into two shorter walls instead of one tall one.
Terraced walls deserve special mention. If you stack one wall above another, the spacing between them matters because the lower wall is still carrying soil load from the upper terrace. A common mistake is placing the upper wall too close to the lower one. The safe spacing depends on height and soil, so a generic rule is not enough.
Poured concrete walls also follow different rules than segmental block walls. They may rely on footings, rebar, and formed concrete rather than geogrid. A contractor who swaps systems mid-job because “it’s basically the same” is usually cutting corners.
What a bad retaining wall job looks like after installation
A bad job shows itself quickly if you know where to look. The face may bow forward, the top may lean, the joints may open